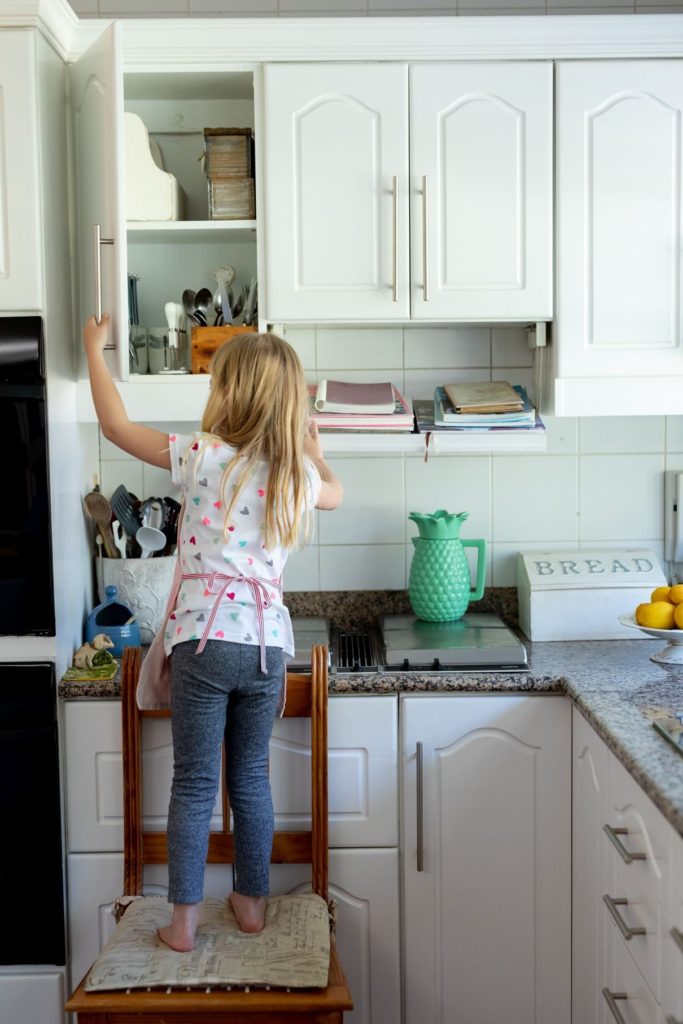
When we talk about kitchen cabinet refinishing, it’s the cabinet doors that usually get our attention and it’s easy to forget about the insides. If you have glass-fronted cabinets, you might think about the shelves more often since they are more noticeable. But even if you don’t, every time you open your cabinet doors, you are exposing the interior for everyone to see. No one wants to show off dingy and dirty shelves, so it only makes sense to ensure that the shelves look as good as the doors. The good news is that painting kitchen cabinet shelves is an easy job to do and it can help prolong the life of your kitchen cabinets.
If you’re considering refinishing your kitchen cabinets, hiring a professional cabinet painting company can save you a lot of time and money.

Why You Should Repaint Kitchen Cabinet Shelves
Kitchen cabinet shelves are subject to weight from dishes, glasses, and other items and these items are constantly being taken out and put back in. Because of the frequency of this activity, shelves are susceptible to stains, gouges, and scratches and can show wear over time.
Tools Required to Repaint the Shelves
Just as with kitchen cabinet painting, it is important to use the right tools and supplies.
- Drill or screwdriver (if necessary)
- Rubber gloves
- Soft cloths
- Dish soap and small container
- Putty knife (if necessary)
- Wood putty (if necessary)
- Fine-grit sandpaper
- Dust mask
- Tack cloth
- Paintbrush
- Primer
- Semi-gloss or gloss paint
The Process for Painting Kitchen Cabinet Shelves
While it is certainly possible to paint kitchen cabinet shelves yourself, you’ll get more bang for your buck if you leave the job to the professionals. Here are the steps necessary to refinish your kitchen cabinet shelves.
- Remove the cabinet doors and everything from within the cabinets. Take out the shelves—they may be resting on cleats or screwed into the cleats, so a screwdriver or drill may be necessary.
- Use a drop cloth to cover a hard surface that is large enough to hold all the shelves and lay the shelves on your work area.
- Using rubber gloves to protect your hands, dip a soft cloth into a container of warm water mixed with a couple of drops of dish soap and squeeze out excess water. Wipe all sides of each shelf using the soapy cloth and then use a separate clean squeezed-out wet cloth to wipe off any soapy residue. Allow shelves to dry.
- If the shelves are made of wood and have nicks in the surface, fill them with wood putty using a putty knife and allow the putty to dry.
- Regardless of the shelving material type, sand shelves lightly in order to allow the primer to adhere—remember to use a dust mask to protect yourself. After sanding, use a tack cloth to remove any dust.
- Apply the primer to the tops and sides of each shelf using a paintbrush. When the shelf is dry to the touch, turn over each shelf and paint the back of each shelf.
- Once primer has dried completely, apply semi-gloss or gloss paint to tops and sides of each shelf using a clean paintbrush. Again, paint the other back of each shelf when the paint is dry to the touch. When paint has dried completely, place shelves back in the kitchen cabinets.
Booth7’s Kitchen Cabinet Painting Services
If you’re looking to have your cabinet shelves painted, Booth7 can be your one-stop shop to give your kitchen a fresh new look. Our professional kitchen cabinet refinishing services include a free in-home consultation, so you can get professional advice, competitive pricing, and custom designs that suit you. We handle all the details of your project from start to finish, so you can trust you are in good hands!
To get started on your kitchen cabinet refinishing project, call Booth7 today! Fill out our online form or contact us at info@booth7.com for a colour consultation


